Getting started with FastAPI
![]()
Why FastAPI?
- FastAPI is properly fast when we compare it to other major Python frameworks like Flask and Django.
- Support for asynchronous code.
- Very short development time.
- Easy testing.
- Best suitable for microservices.
- Auto docs generation from roues docs.
Note: It only supports python3.X.X
install FastAPI with pipenv
- Install pipenv & install fastapi
pipenv install fastapi- To activate this project's virtualenv, run
pipenv shell.
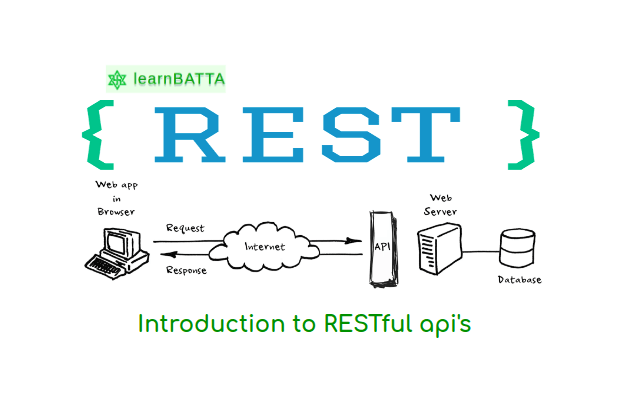
simple rest api example
- create a file
main.pyfile and add below code to it.from fastapi import FastAPI app = FastAPI() @app.get("/") async def root(): return {"message": "Hello World"}
Run the development server with uvicorn
- Install the package uvicorn
pipenv install uvicorn
- Now, run the server with below command
uvicorn main:app --reload
route types in FastAPI
- The
@appdecorator lets us to set the method used for the route, e.g.,@app.getor@app.post.GET,POST,PUT,DELETEand the less-usedOPTIONS,HEAD,PATCH,TRACEare all supported this way. - You can also support multiple methods on a given route simply by wrapping multple route functions, e.g.
@app.get("/")on one function and@app.post("/")on another.
accessing path and query parameters in FastAPI
- we can pass parameters to the route as a variable.
-
let's see an example
from fastapi import FastAPI app = FastAPI() @app.get("/items/{item_id}") async def read_item(item_id: int): return {"item_id": item_id} -
we can specify the type of the parameter and we can also use multiple path parameters.
-
We can also access the request parameters. Let's see an example below.
-
Let's see the simple curl call to see the result.
curl --location --request GET 'localhost:8000/'
- we can access the query parameters as a route arguments. Let's see an example.
from fastapi import FastAPI

app = FastAPI()

@app.get("/users/")
async def read_item(code: str = ""):
    users = [
        {"id": 1, "name": "Anji", "code": "C001"},
        {"id": 2, "name": "John", "code": "C001"},
        {"id": 3, "name": "Jennifer", "code": "C002"},
    ]
    result = list(filter(lambda x: x.get("code") == code if code else True, users))
    data = {"users": result}
    return data
- In the above code the parameter code accepts string as a input and the default value is empty string.
- Let's see an example to filter the users with code
C002
curl --location --request GET 'localhost:8000/users?code=C002'
- The response we get
{
    "users": [
        {
            "id": 3,
            "name": "Jennifer",
            "code": "C002"
        }
    ]
}
parsing the POST method request body with FastAPI
- By using pydantic we can parse and validate the request body.
- Let's write a simple pydantic model for
item.
schema.py
from typing import Optional
from pydantic import BaseModel

class Item(BaseModel):
    name: str
    description: Optional[str] = None
    price: float
    tax: Optional[float] = None
main.py
from fastapi import FastAPI
from schema import

app = FastAPI()

@app.post('/items/')
async def create_item(item: Item):
    # logic to create the item
    data = {"item": item}
    return data
- Now, send below request
curl --location --request POST 'localhost:8000/items/' \
--header 'Content-Type: application/json' \
--data-raw '{
    "name": "Dell",
    "description": "11th Generation",
    "price": 345.44
}'
- We will see below response
{
    "item": {
        "name": "Dell",
        "description": "11th Generation",
        "price": 345.44,
        "tax": null
    }
}
- It's that simple to start with the FastAPI. Stay tuned to get more articles on FastAPI.
auto generated docs
- visit below urls in your local environment after running the development server to see the api docs and try the api's
References: